We are happy to announce that Bitbucket Pipelines now supports non-containerized Linux Shell Self-Hosted Runners. We have moved from beta to an official release.
You can now create a self-hosted runner and run it on your Linux infrastructure without container restrictions. Since it is your infrastructure, you will not be charged for the build minutes used by your self-hosted runner.
This self-hosted runner is non-containerized allowing your CI/CD step to access the host’s hardware, such as graphics card or any connected external devices. Given that the runner will run directly on a Linux instance, there would be no restrictions on a step’s memory usage.
Get Started
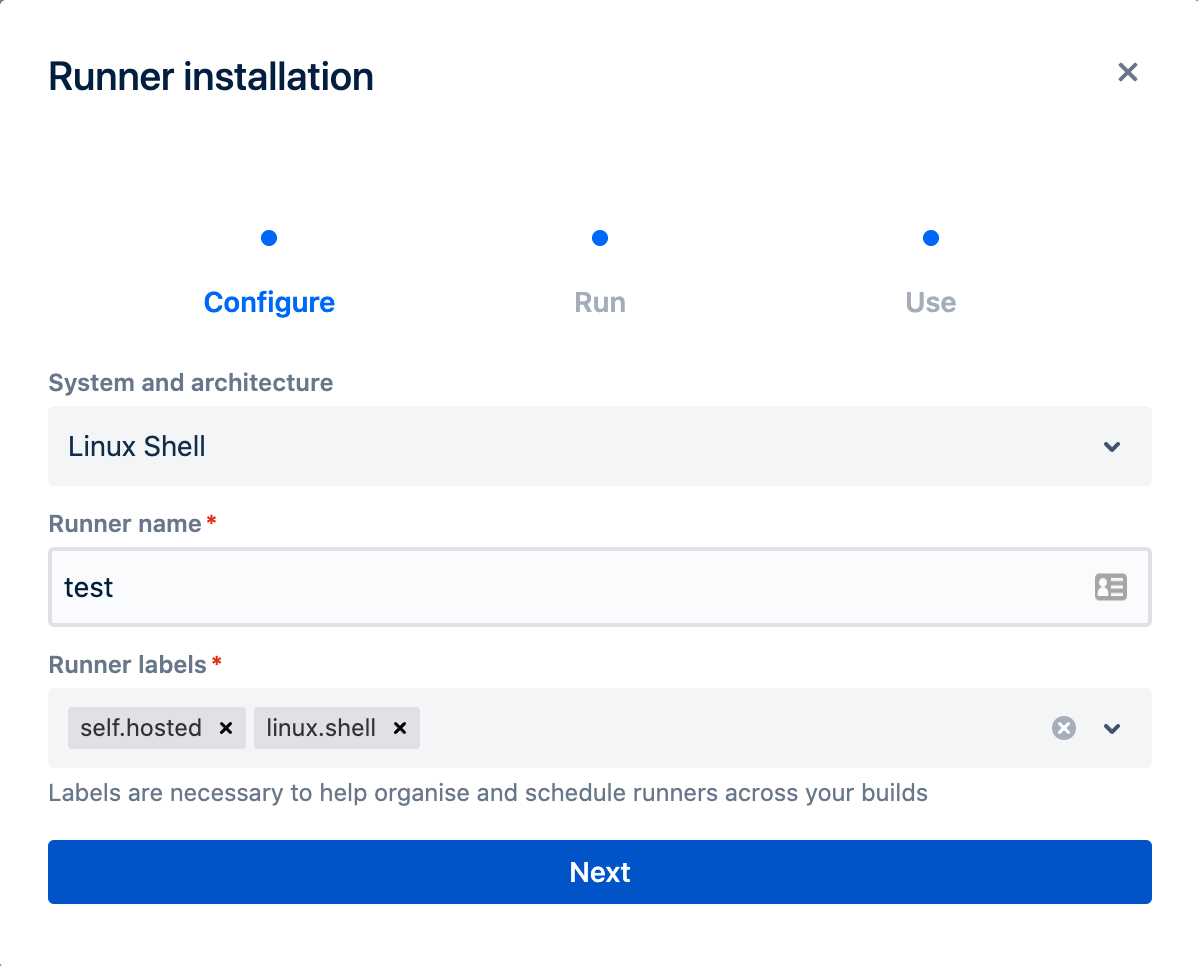
To get started, go to your repository or workspace settings, and click on the Runners tab in the left navigation menu. Select Linux Shell from the System and Architecture dropdown and specify a runner name and labels.
Just like Linux Docker, Windows and MacOS runners, if you choose to create a workspace runner, that runner can be used to run builds for any repository in that workspace.

Configuring your bitbucket-pipelines.yaml
To use your Linux Shell runner in Pipelines, in your bitbucket-pipelines.yaml file, add to the step a runs-on section with at least a linux.shell label, and it will run on the next available Linux Shell Runner that has all the required label(s). If all matching Linux Shell Runners are busy, your step will be queued until one becomes available again.
pipelines:
  default:
    - parallel:
        - step:
            name: Build and Test
            runs-on:
              - linux.shell
            script:
              - npm run build
              - npm run test
        - step:
            name: Code linting
            runs-on:
              - linux.shell
            script:
              - npm run lint
To learn more about how to set up and use your own runners, check out this demo den on how to use Bitbucket Pipelines Runners and execute your Bitbucket pipelines builds on your own infrastructure, so you have more control over your server configurations. To learn more, refer to the technical documentation.