It’s important to create a blog requirements doc and make it available to all your blog authors. Also, by creating a blog page template you can help your writers get started and ensure consistency. Confluence lets you do both, which centralizes your blog process guidelines and standardizes your blog posts. The benefits of doing this are too numerous to list here, so read on!
We have a surplus of blog authors at Atlassian, and that makes us lucky.
Having lots of people from across our company to contribute to our blog — including folks on our marketing, HR, and software teams — means that we’re able to cover a number of different perspectives in our posts and give our readers advice straight from the experts.
The kicker is, while these authors are often also good writers, writing typically isn’t their main skillset. Plus, regardless of any contributor’s talent or experience, all your blog authors need guidance on things like:
- Company voice and tone
- Format, length, style
- Focus keywords and SEO
- Goals
- CTAs, subheads, pro tips, call-outs
… and everything else you’ve planned out for your blog.
So, how do you make sure every author knows your guidelines? And how do you create a baseline for consistency, especially so trickier elements – SEO, headlines, tags – get the attention they need before a post is submitted for review?
At Atlassian, we’ve used Confluence to set up a blogging process that provides this kind of structure for our writers, while still allowing them to express their unique voices. Here’s how you can do the same.
Create a page that outlines your blog authoring process
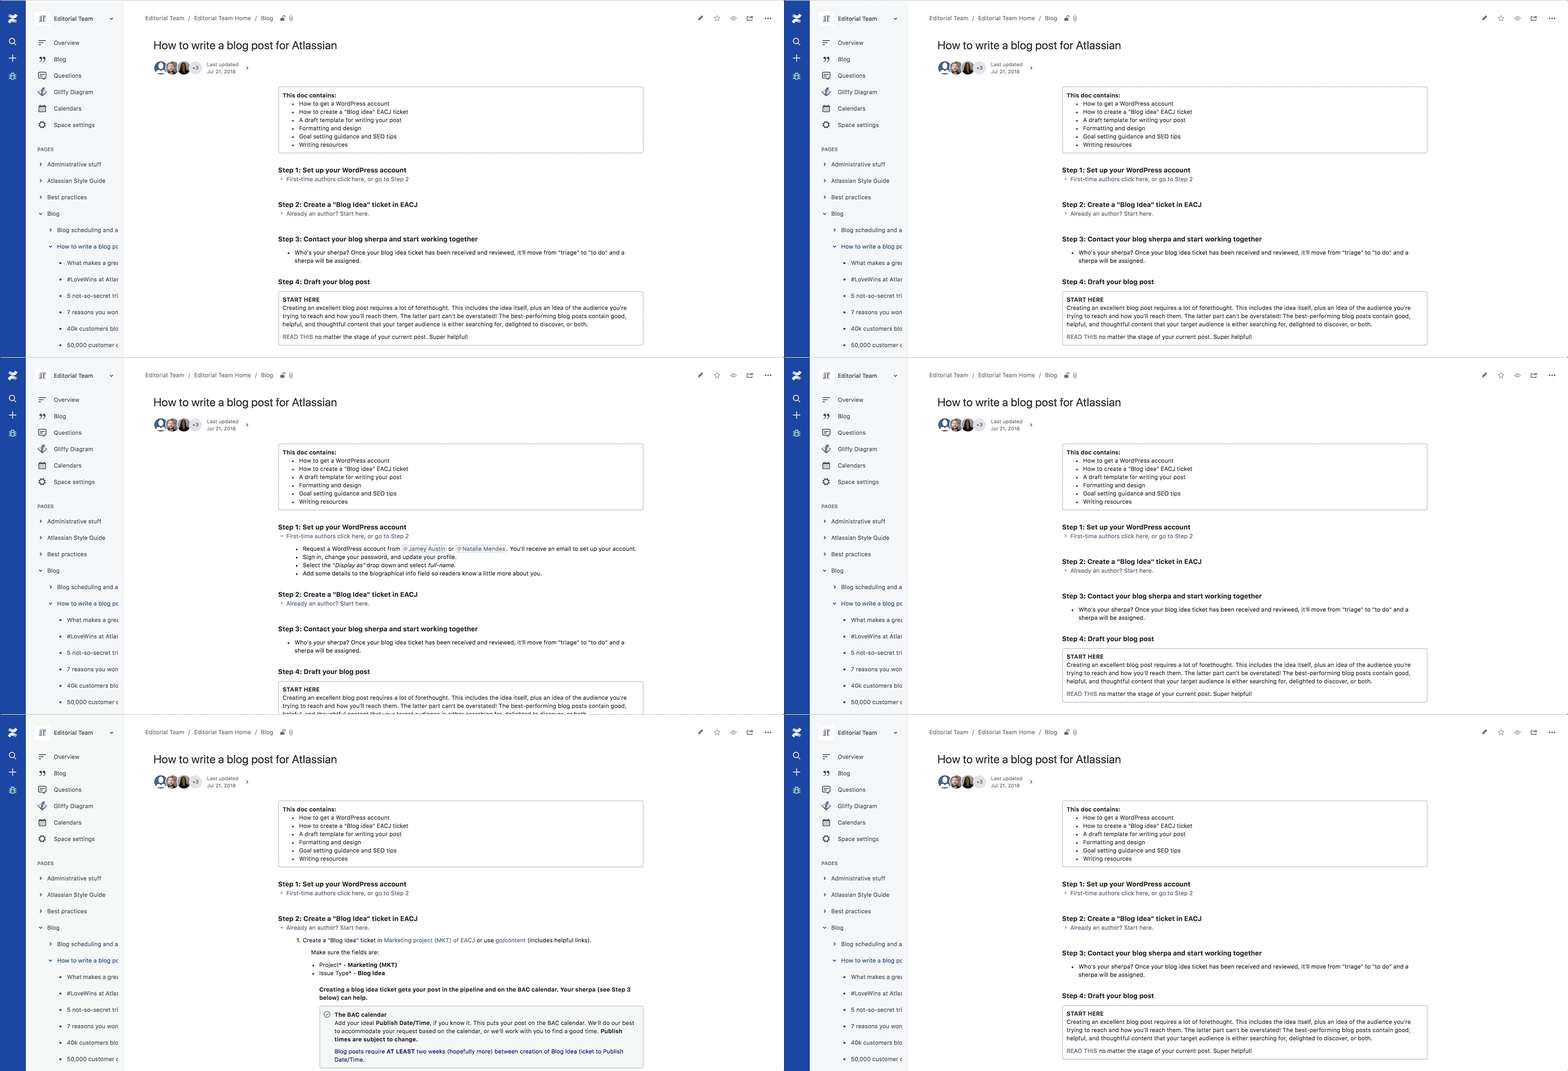
Here’s our Confluence page called “How to write a blog post for Atlassian,” which gives our blog authors the information and guidance they need up front, before they begin to write. It’s easily available in our editorial team’s space so all of our authors can access it at any time.

We used a simple page format and employed some dynamic content features to help organize the page. In particular, we used the expand feature to help keep things from getting too cluttered.
This feature allows you to hide some of your text in a link on the page. Then when you click that link, the extra text drops down.
Use a page template to get blog authors started and ensure consistency
Now let’s go to Step 2 – Draft your blog. When our blog authors are ready to get their Hemingway on, they click the button “Create public blog post from template.”
A page template – that we’ve set up – appears automatically.
Templates: Confluence lets you create page templates that can be used again and again. By standardizing with a page template, you’ll establish a level of consistency for all your blog posts. Learn more about Creating a template in Confluence.
So, why use Confluence for blogging and to outline your blog process?
Sure, you could create an outline in Word. You could even create an outline in email. (Don’t do that.) But using those tools for a reusable template? Forget about it.
Confluence helps you centralize this information for easy access by anyone in the company. In our example, it means that anyone at Atlassian can find the page “How to write a blog post for Atlassian.” All authors can read the guidance and start a new blog draft with the information they need.
Confluence also enables teammates to review posts and give feedback right on the page with comments. Blog posts are iterative; each goes through the process of drafting, reviewing, and editing. And I know you’ve experienced how painful this process can be, the scattered feedback (often in different places like email) and not knowing if someone has seen the post. Comments in Confluence are the height of content review and collaboration for a piece of writing.
✅tip: Confluence has two kinds of comments: inline and page comments. Each offers a way to comment on pages and blog posts to provide feedback and have conversations on the same page.
And, using Confluence lets you standardize your blog posts for consistency and reduce needless repetitive effort. By creating a page template that everyone can use, an author doesn’t have to create a new page for every blog post. Plus, he or she knows all the requirements –– because they’re listed right at the top of the page.
This frees up time for the author to help with goal setting, to think about headlines and focus keywords, and to complete required fields. Trust me, this will make your content manager or Editor-in-chief very happy.
Rest easy by outlining your blog process and creating a blog page template
By using a page that outlines our process and requirements, and offering a page template to get our blog authors started, we rest easy (or easier!) knowing our authors have the information they need and that the blogs we receive will have a high level of consistency. Not to mention, these steps will also make your entire blogging process easier by:
- Eliminating repetitive back-and-forth questions (self-service FTW!)
- Educating authors and familiarizing them with *all* publication requirements (feel our pain!)
- Allowing much more time to review, edit, re-write, rinse & repeat (“Writing is REwriting.” – Robert Kelley)
