Running a Scrum or Kanban process isn’t about the tool you use. Rather, it’s about the quality of the team collaboration and, ultimately, delivering value to your customers.
That being said, a good tool helps a great team put all of the nitty gritty details of product development into a visual perspective, so they can spend their brain power solving complex problems during each and every sprint.
Trello is great for managing the sprint process because teams find it easy to keep up to date, and the features don’t get in the way of team collaboration in the way more complex tools can.
Since Trello is quite un-opinionated about how you use it, it can take a little experimentation to see what works best for your team.
I’ve talked to hundreds of teams using Trello for Scrum and Kanban processes while building Corrello Agile Dashboards. These teams range from small ones in rapid growth-mode to larger, well established ones. From these conversations a few common practices stood out.
Let’s take a look at what these successful agile teams are doing in Trello.
Back To The Basics: Setting Up Your Board
Trello has a great Kanban 101 guide if you want to start from square one. Let’s make sure we’re all on the same page with the fundamental stuff before we look at some more complex issues:
Basic Scrum/Kanban Board

The key elements of a simple Scrum board for software development teams are:
- A Sprint Backlog list. This is filled up at the start of the sprint and (hopefully!) empty by the end of the sprint .
- One or more ‘Work In Progress’ lists. In the screenshot above we have ‘Dev’, ‘Code Review’, and ‘Test’, but obviously these would match your specific process. It is worth breaking out your process beyond a single ‘In Progress’ list to see how cards flow through your entire process on the board.
- A Done list holding all the work completed already (plus a nice reminder of all that you’ve accomplished!).
A simple Kanban board would look much the same as the above Sprint board, but in place of the Sprint Backlog, you simply have a ‘Ready for Dev’ list on the far left.
Work is put in ‘Ready for Dev’ when they’re ready for coding work, and cards are prioritized from top to bottom.
Once there is capacity to take on more tasks, the work is dragged from ‘Ready for Dev’ and flows through the board until it reaches Done.
Ready For… More Lists!
The above Kanban board introduces a useful concept used by some teams to help track cards in wait states, compared to ones that are actively being worked on.
Consider this: If a card takes five days to get through your process, is it actively worked on for five days non-stop? Or is it sometimes waiting during handover between different parts of your process? If you could reduce wait time you could get work done faster without anyone actually having to do any additional work! (What?) Let’s take a look at an example:

Here we can see three cards in ‘Dev’ and one in the ‘Test’ list. There are also two cards in the ‘Ready for Code Review’ list. When reviewing the board with your team, you can discuss why someone hasn’t picked up one of those cards from ‘Ready for Code Review’ yet before they pull another card from ‘Dev.’
‘Ready for…’ lists help you track if cards are waiting and, more importantly, makes it obvious to the team that cards are available for the next step in the process, but aren’t actively being tackled. In this way, the team can take action and start getting work done faster (without working any harder). These ‘Ready for…’ lists can also help make it more obvious if there are big gaps building up.
In the example above, there isn’t currently anything for Test to work on after the ‘Cycle Time chart’ card is completed. A simpler board may not have made it clear that no one was actually reviewing certain cards, because they would be sitting in ‘Code Review’ without actually having any code reviewed.
Keep in mind: ‘Ready for…’ lists will nearly double the number of ‘In Progress’ lists you have. Maybe you don’t want to take on that many steps, but if you think it might be useful it’s easy to try out a list and then just archive it later. Trello’s flexible list structure makes this a simple change. You could also just implement ‘Ready For…’ lists for just the parts of your process you think would benefit the most (in my experience it’s always code review ).
Archiving Completed Work
Both of the above boards have a single ‘Done’ list, which suggests a few ways to work when it comes to the decision to archive or not to archive items that are done:
- Never archive or remove cards from the ‘Done’ list; we’ll deal with them when the rapture comes!
- Periodically archive them when someone “can’t stand it anymore.” (Long lists can be pretty unwieldy.)
- Archive ‘Done’ lists each week (but remember: this runs the risk of removing the record of what was recently completed).
Popular options seem to be:
- Done lists for each sprint/week/month depending on the team’s preferences. With this pattern you create a new ‘Done’ list each week and rename the old one ‘Done – Week 10/8-10/14’. These lists gradually move off to the right and can be archived when they are no longer needed.
- An entire board dedicated to archived cards for storing past work. This is usually organised with lists for each sprint or week. Cards in the done list are then all moved onto the archive board periodically. This can keep the main board a bit tidier, and keeps a full history of what was done, and when.
Either of these are a great way to keep an easily searchable history of what was done previously, while still keeping the team’s main board clean.
The Card Descriptions
I see many teams storing details of the required work directly in the description of the card rather than linking to Google docs or other documents. Using Markdown (details here) allows plenty of options for formatting your description. A general rule seems to apply that if the description gets too large, then you should split the card.
Links are used for additional details such as wireframes, UI mockups, and other details which can’t be documented in text.
Template Checklists
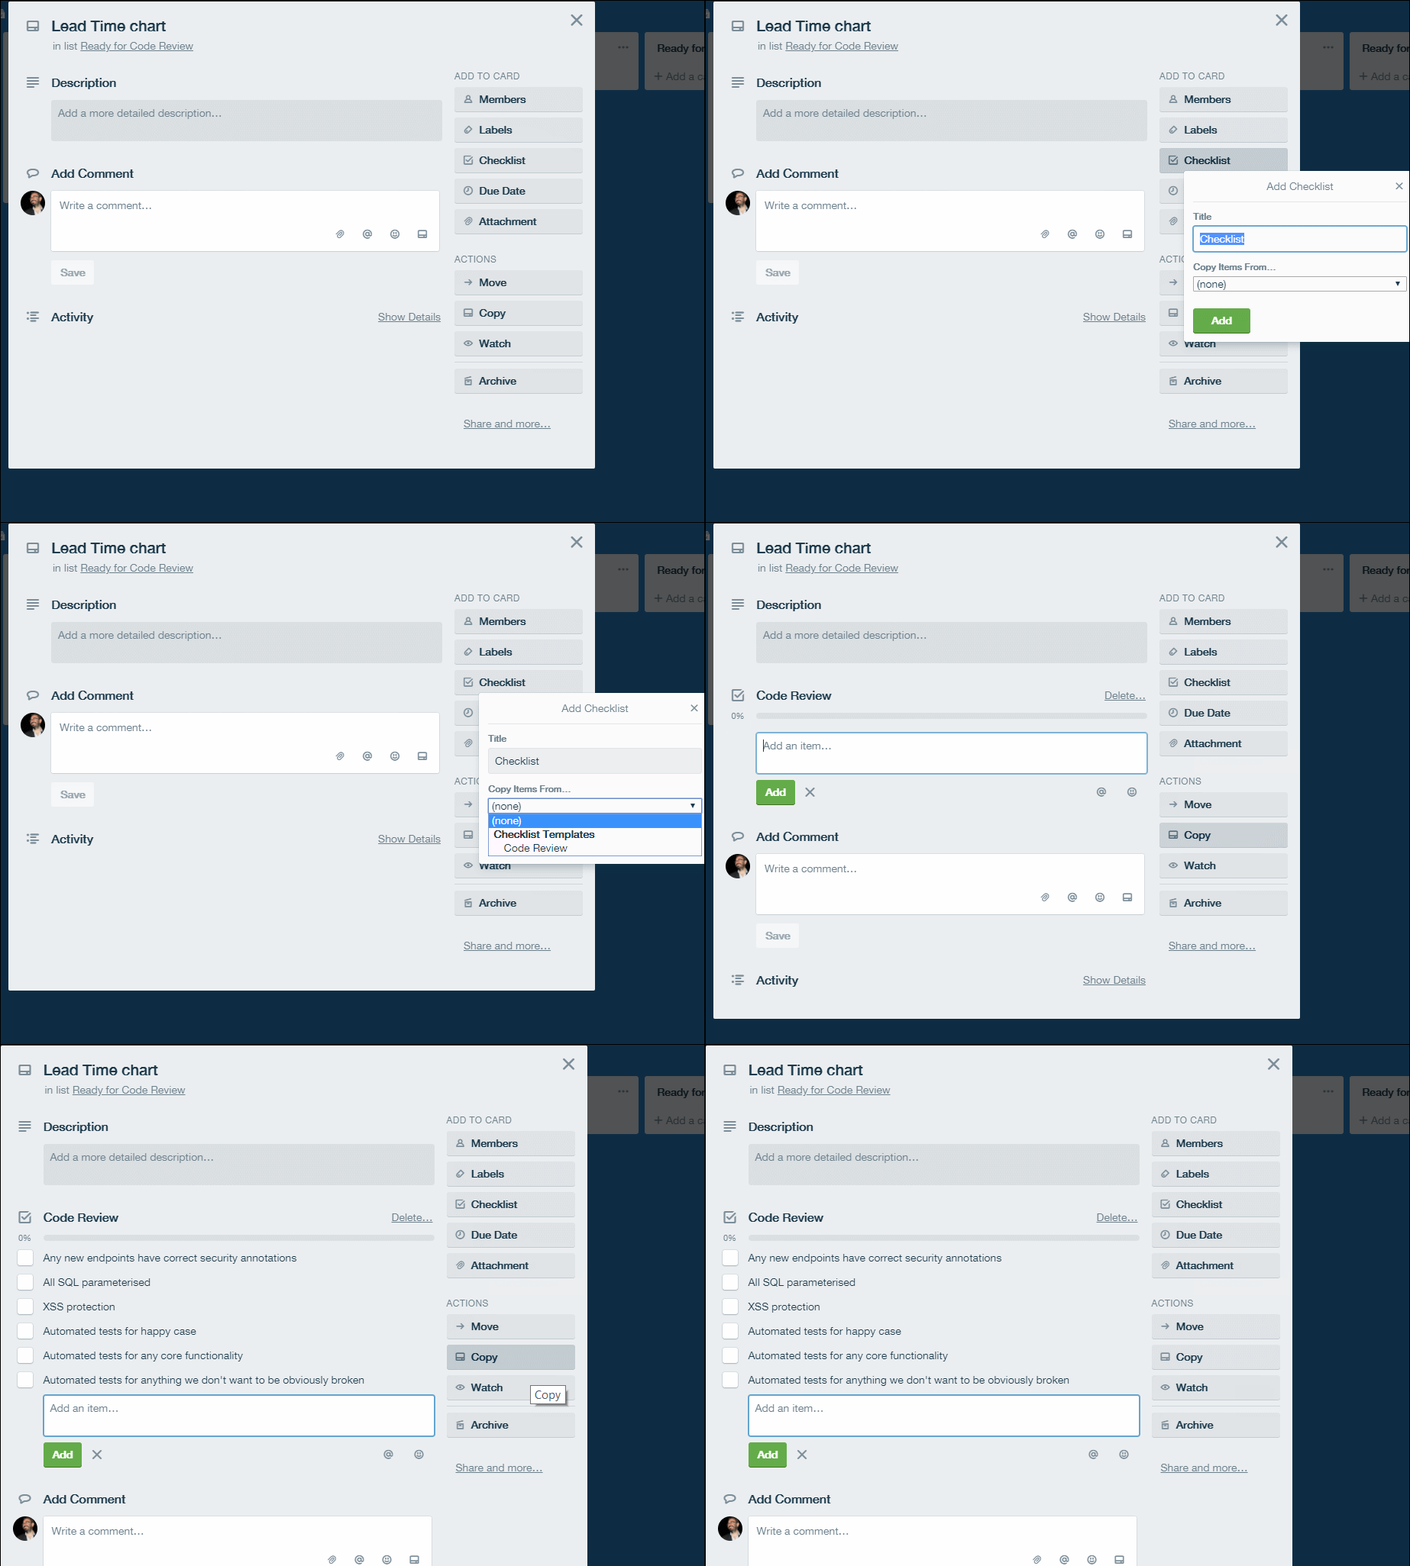
Many teams create and use a template checklist on a card for their code review checklists. This checklist is copied onto relevant cards using the ‘copy items from’ feature when adding a checklist.

If you have checklists you want to ensure are always part of certain cards, template checklists can be a great way to do it. As you evolve the checklist over time you can be sure everyone always gets the latest version when they add it to their card.
Cover Images For A High Level ‘Projects/Goals’ Board
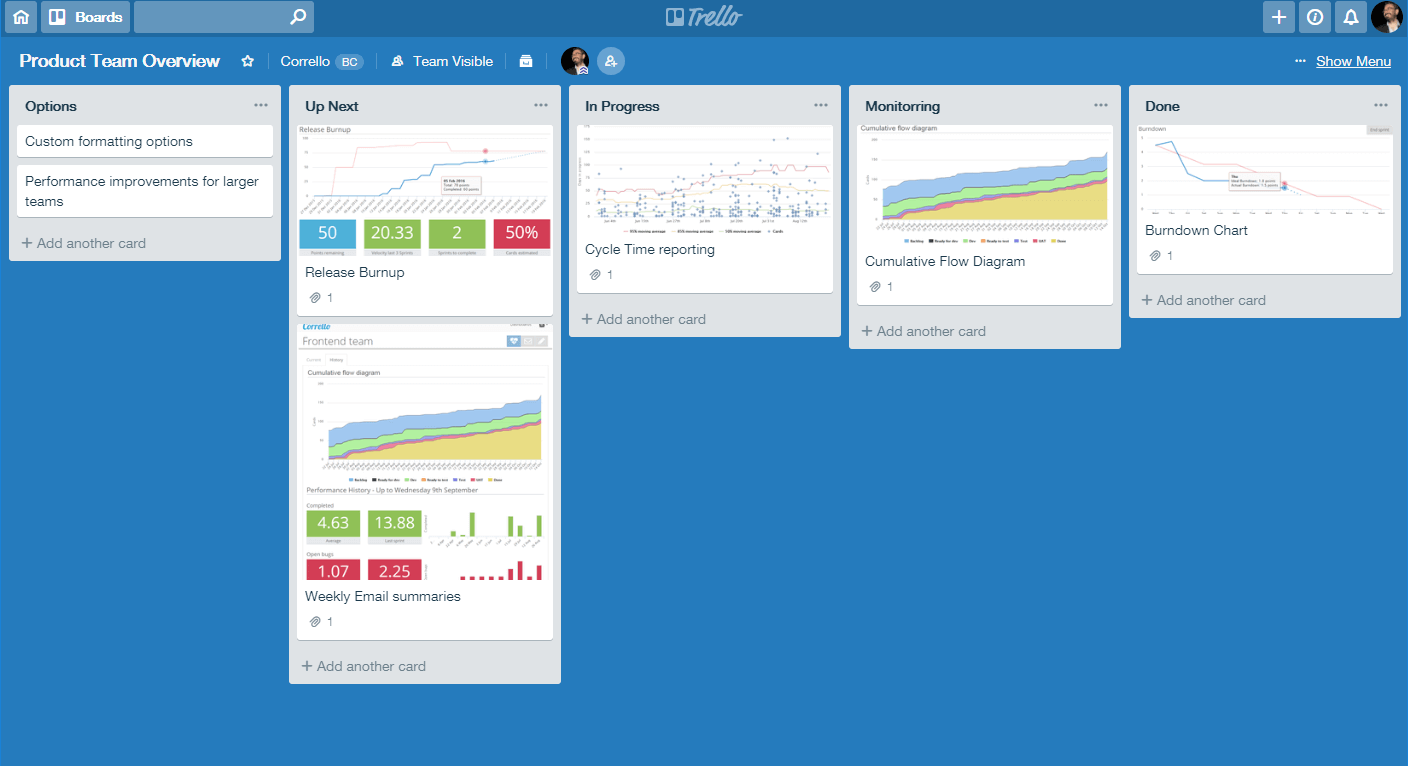
Some teams like to maintain a higher-level view for people outside of the team. While Trello Card Cover images can get a bit noisy on a board with a lot of cards, they can also be a nice way to make a lower volume board look more visual.

Some teams go beyond using these high level boards just for reporting and use them for managing upcoming work for the team. If you want to learn more about that you can see a template here and read the how to use this board card.
Using Labels Without Losing Your Mind
A fairly common anti-pattern I see is to set up labels for everything and to start adding labels to every card. Is it a ‘Task’? A ‘Sub Task’? A ‘UI task’? A ‘UI enhancement’? A ‘Backend story’? Or who knows what else! Who cares!
Sometimes all that complexity is valid but it’s not a great way to start. In the words of John Gall:
“A complex system that works is invariably found to have evolved from a simple system that worked. A complex system designed from scratch never works and cannot be patched up to make it work.”
So let’s start with a simple system of one to three of these labels:
- Bug
- Blocked
- Urgent (if you need it)
The bug label is red to make sure it stands out on the board. If you aren’t a development team there is probably some similar classification of issue which you could apply here.

Blocked here means the card cannot be advanced by the team. Using an orange label, rather than a separate list, means you can see on which lists cards are getting blocked. In this way, you can see if blocked cards contribute to a buildup of work in one specific part of the process. This is one reason why it’s good to split your process out beyond a single ‘In Progress’ list.
The Urgent label isn’t always useful, but for teams that have expedited tasks it is good to call those out with a label. This means you can see how many urgent requests are coming through the board, and the label color is a good visual callout that helps people remember that the task needs to be prioritized.
Top Tip: You can quickly add labels to cards by hovering your mouse over them and pushing the number button related to that label. For example, the red Bug label above would be ‘4’.
Creating Child Tasks
When it comes to splitting cards up into child tasks, there are two approaches which seem to work long term for teams:
Using Checklists
This is the place to start when you need to log sub-tasks for a card.

Using markdown, we can add a really nice level of clarity to the breakdown here with bolded titles and indenting sub tasks. If you need to you can add multiple checklists to further breakdown the work. However, if you find yourself doing that it may be time to…
Split Cards Up Where It Makes Sense
If a card is too large, break the work down into two or more separate cards. Over time your team will likely get a feeling for what makes a card ‘too large’ and will start breaking cards down before they start working on them.
Scrum teams often track Velocity, which is a measure of how many Story Points they complete each Sprint on average. A common rule they will then adopt is not to take cards larger than ½ their Velocity into a Sprint. That can be a useful metric for when a card needs breaking down. Or, if you are finding it hard to be clear about what needs to be done on the card back alone, it may be a good sign that the task could be broken up a bit more.
Setting Your Team Up For Epics
Similar to child tasks, Epics (or missions, or whatever you want to call them) are a higher level grouping of cards. I have seen three popular approaches work well here:
1. Using Labels
This is probably the most popular approach. Labels are created for each Epic and assigned to cards. Labels move with cards as they move across and between boards. In this way, it is easy to see which cards are part of an Epic and how much is done versus what still needs to be done.
Here we see this approach with all the Epic labels in black, but you can of course choose to color code whichever way makes sense for you .

2. Using Lists
Another approach is to have a list for each upcoming Epic. The problem is that you lose the relationship with the Epic once the card leaves the list. If you work on one or just a few Epics at a time, this isn’t necessarily an issue as everyone knows which Epics are in progress at the moment. However, if you have lots in play at the same time it may be better to stick with Labels, or…
3. Use the Hello Epics Power-Up
The most popular Epic management Power-Up I’ve come across is Hello Epics, which allows you to set up cards as Epics and attach child cards to them. Definitely worth checking out if you are looking for something other than the above options.
Release/Product Management Patterns For Your Backlog
There are a few different approaches for organizing your backlog. The best approach for your team is usually dictated by the size of the team and the number of products you are working on. I’ll mention below where I most commonly see these patterns in use.
Single Backlog List
This approach is most commonly used by Small Teams working on a single Trello board.
This is likely where everyone starts. You have a single ‘Backlog’ list at the left of your board. Cards are prioritized top to bottom. Maybe you add a ‘To Prioritize’ list to the left so people can log new bugs or suggestions. Then, when time allows, whoever is responsible can move them into the backlog list.
Release or Milestone Lists
This approach is most commonly used by Teams working on a single Trello board with a growing product.
A common next step is to add lists representing upcoming milestones or releases:

Here we have two backlog lists for two upcoming milestones: ‘v1’ and ‘v2.’ The idea is that once all the cards from v1 are completed, that milestone (or release if you prefer) is completed. This can be a good way to help teams manage scope as things grow. Just what is going to make it into version 1 versus version 2?
While keeping everything on one board can be beneficial, at some point you are likely to move to…
Product Management Board
This board workflow is most commonly used by Larger Teams working on multiple Trello boards or teams with well-established products.
This is similar to the Milestones Lists above, but with all these lists on their own board. Since this board is mainly used by the Product Owners or managers it can be kept a bit more ‘loosey goosey’. This allows you to add lists for notes, ideas, or possible epics without upsetting the team who wants to keep their main board clean.
Whole lists or individual cards can then be sent to the relevant teams’ boards when they are ready. This keeps the team’s main boards clear of planning work and can allow one Product Management board to feed multiple teams.
Useful Power-Ups To Boost Your Agile And Kanban Workflows

There are now over 100 Power-Ups for Trello! If you’ve not had a look it’s worth seeing what is in there. Here are a few popular Power-Ups for Agile Teams to check out:
- Agile Tools: Story Points, WIP Limits and more (Free)
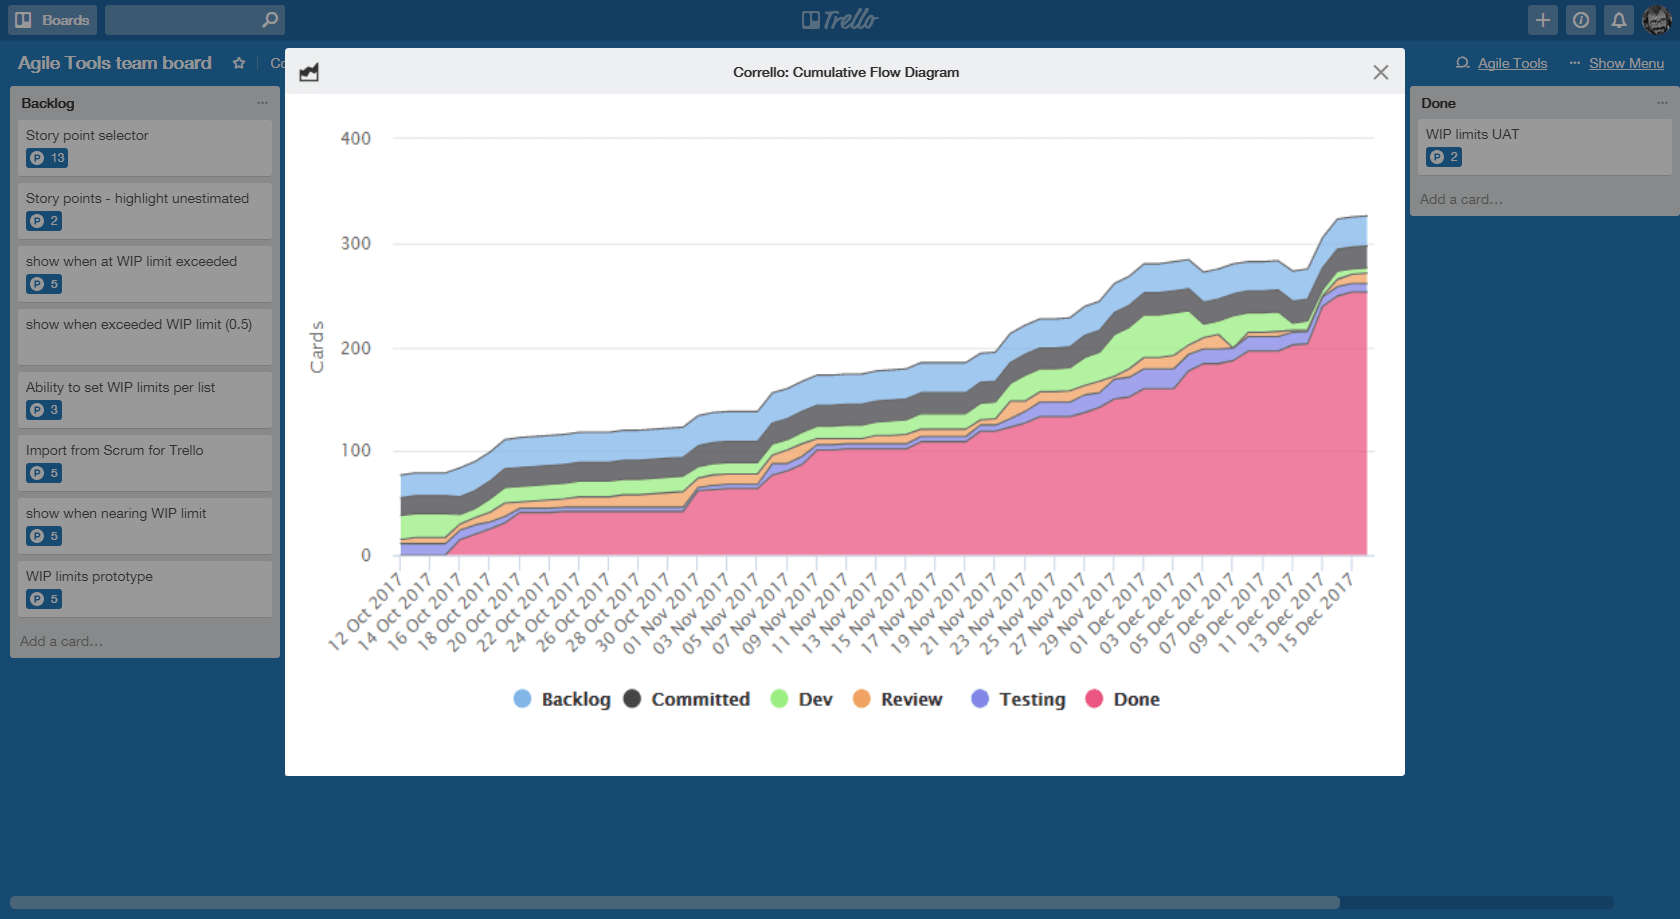
- Corrello: Dashboards for Scrum and Kanban teams with Burndowns, CFDs, Cycle Time and more
- Hello Epics: Mentioned above, parent/child relationships for your Trello cards
Accelerate Your Agile Team
So there we have it!
Using the approaches above, I have seen teams scale from two to three members to well over 100 members in their agile journey quite happily. And remember: it’s not about the tool, it’s about the team!
Good or bad, we’d love to hear your thoughts. Find us on Twitter (@trello) or write in to support@trello.com


