Timeline in Jira tutorials
Enable the timeline view
In team-managed projects:
The timeline view is automatically enabled and can be found in the side navigation. If Timeline is not enabled:
- Navigate to Project Settings in the sidebar.
- Select Features and enable Timeline.
In company-managed projects:
- Navigate to your board and select (•••) in the top right corner. Select Board settings.
- Select the Timeline tab and enable the feature.

Create a timeline
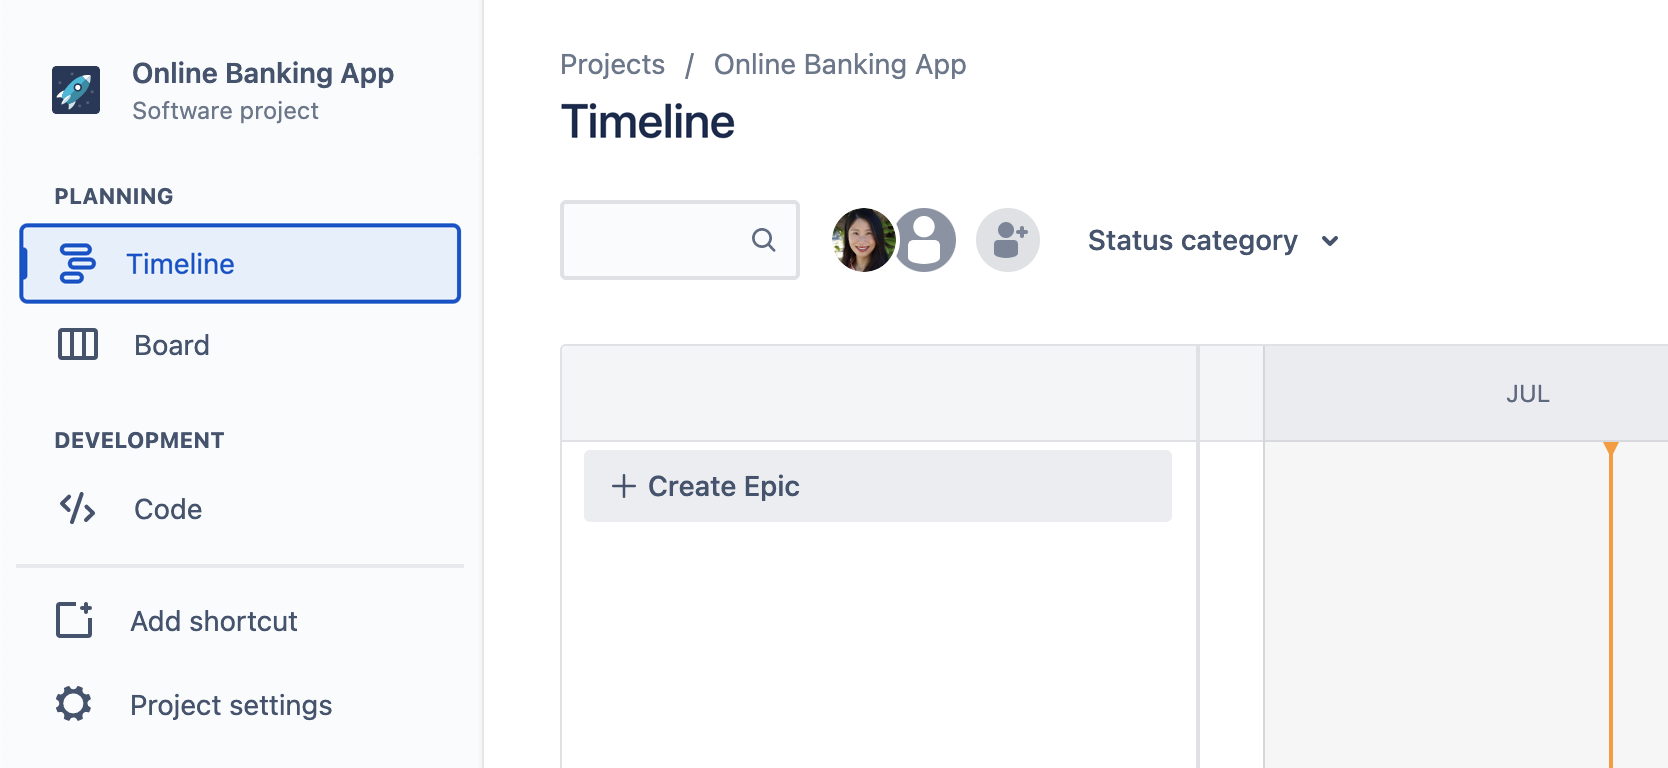
- Create a new Jira project or go to an existing project and then navigate to the sidebar and click Timeline.
- Click + Create epic on the timeline to create epics directly on your timeline. If your timeline is empty, simply start typing to create.
- Name your epic and hit enter. You can double click into epics at any time from your timeline to add information such as start and end date, assignee, attachments, and more.
- Add child work items to your epic from the timeline by clicking + next to the epic name. Select the type of child work item using the drop-down and then name the work item.
Assign start and due dates
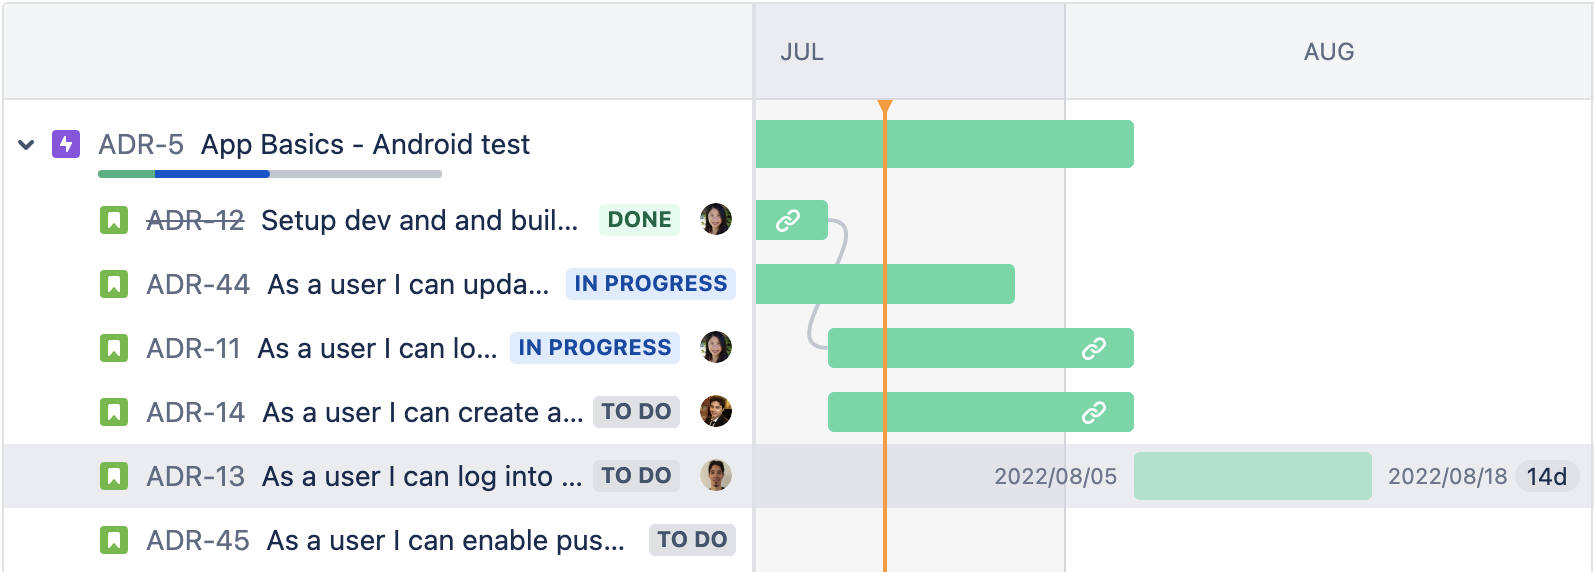
The length of the bar on the timeline correlates with the start and due date set for your epic. Setting dates for your epic helps to:
- Communicate plans with the team and provide visibility to external stakeholders
- Inform dependency mapping and help with resource management
You can assign start and due dates by changing the length of the bar.
Filter and view settings
Your Jira timeline has built-in filters that make viewing and managing work simple. You can use them to only show work items that relate to product work or highlight your team’s “keep the lights on” tasks. You can find filters at the top of your timeline.
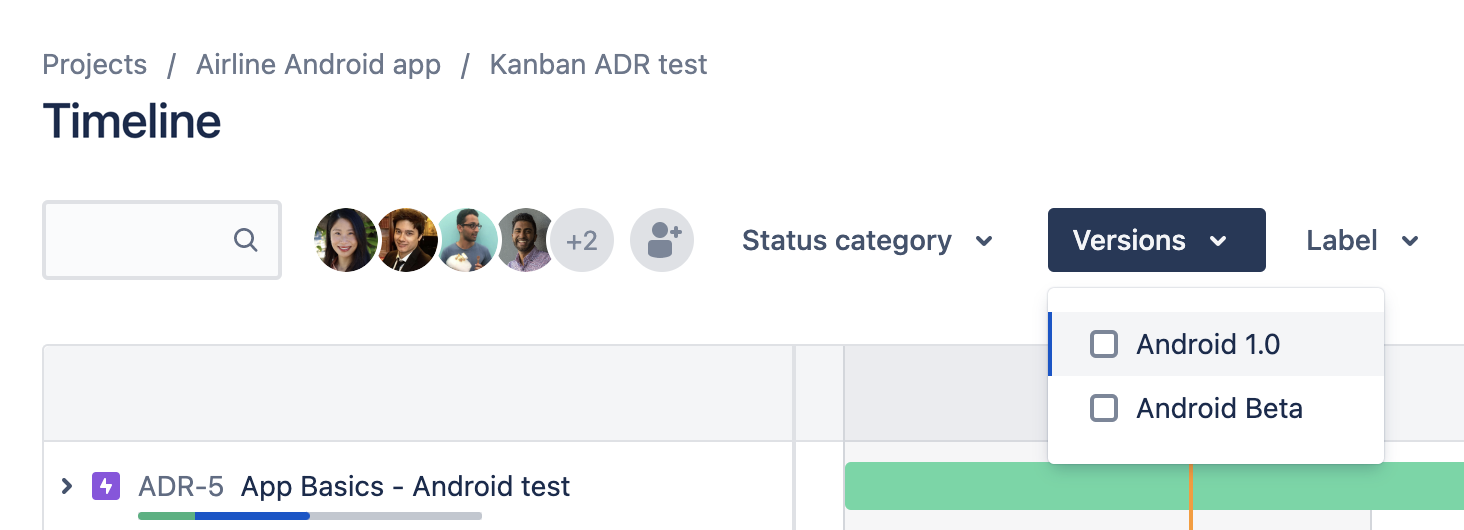
Refine your timeline by searching for keywords and filter by assignee, status, label, work type, versions, or component. The search bar is always available. Other filters appear only after you add an assignee to a work item, create more than one type of work item, or add a label to a work item on your timeline. Filters apply to all parent and child work items in your timeline view.
Adjust view settings on your timeline to understand what is at risk. Add or remove dependencies and progress views and filter epics by status.
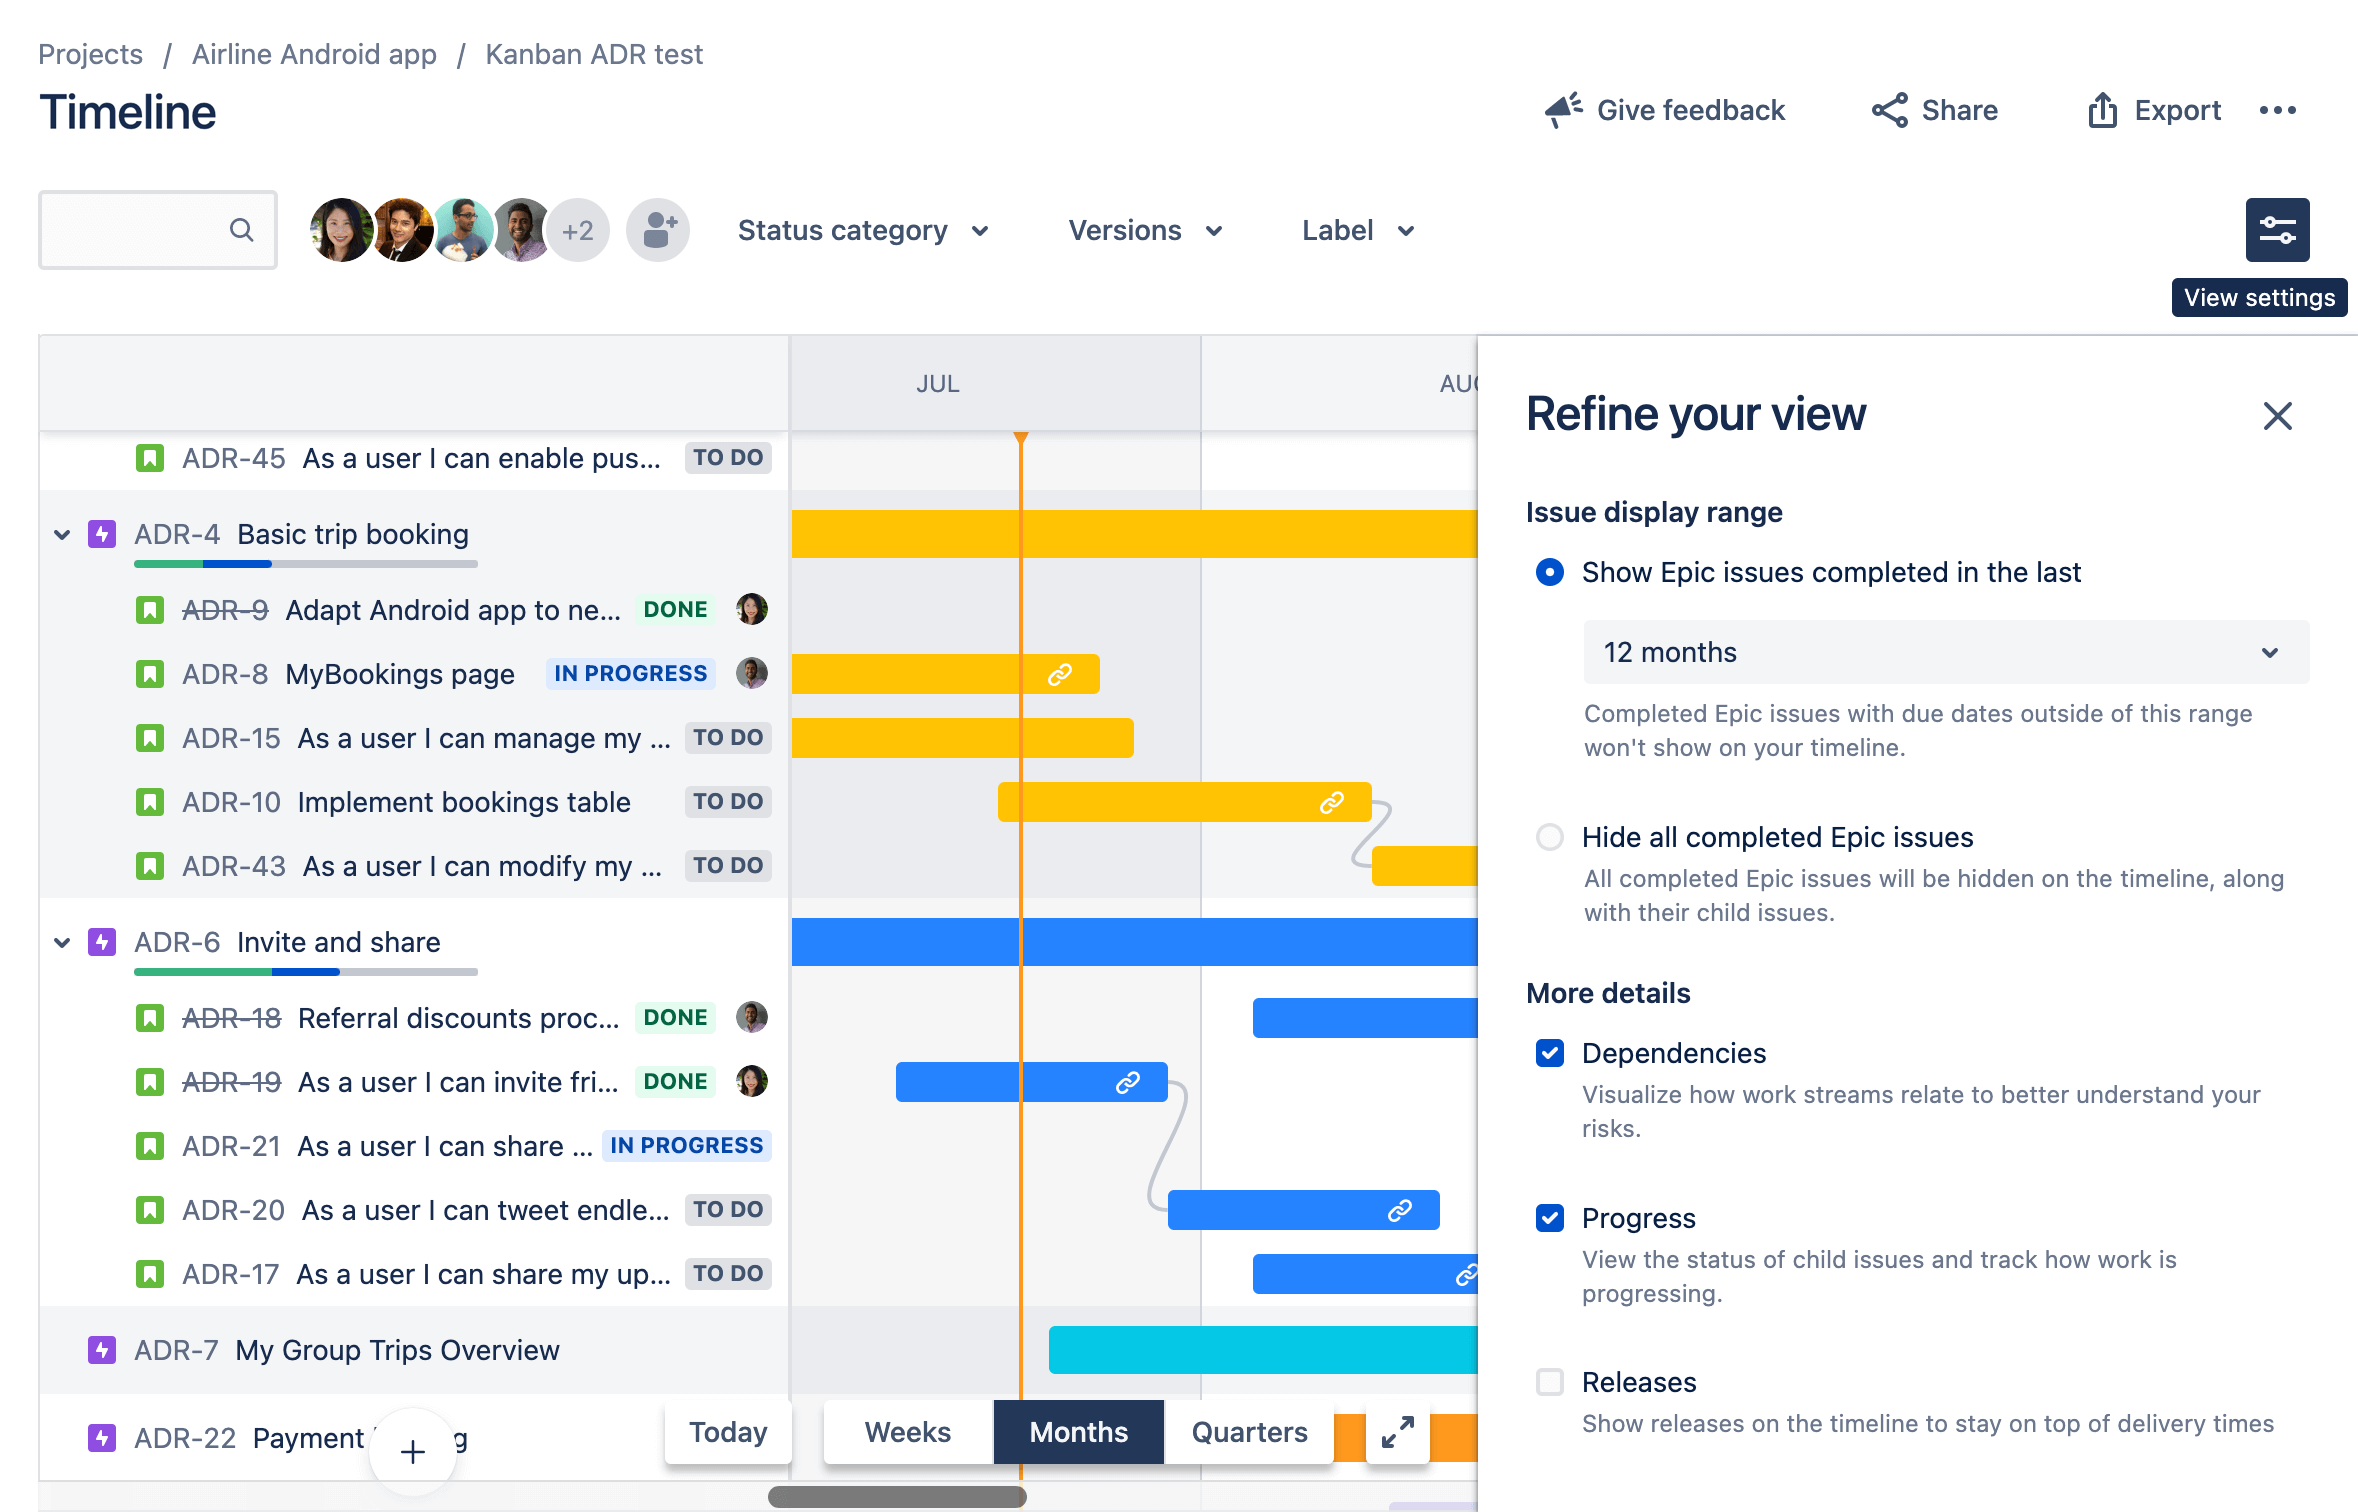
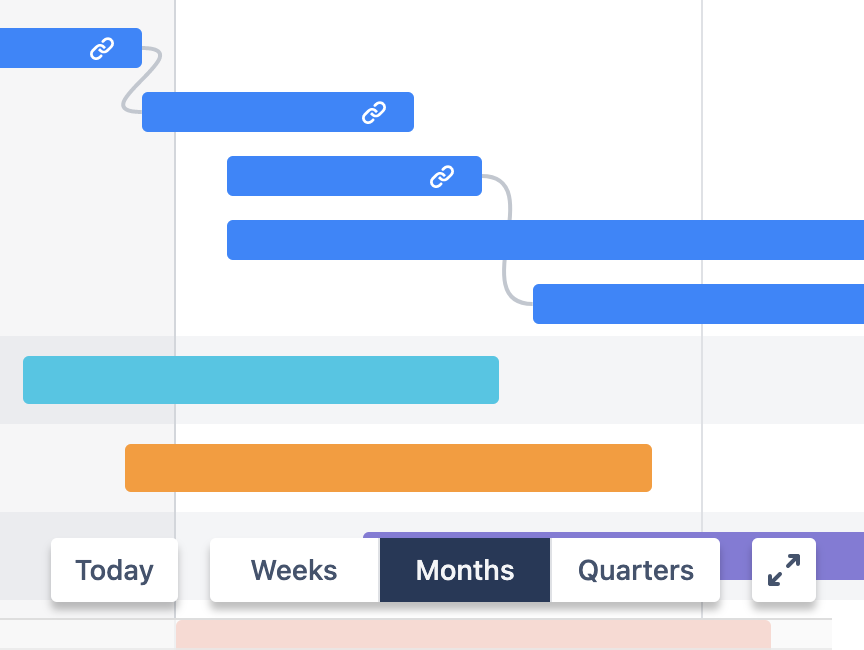
Use the timeframe selector in the bottom corner to zoom in and out on your timeline to view upcoming Weeks, Months, or Quarters.
Share and export
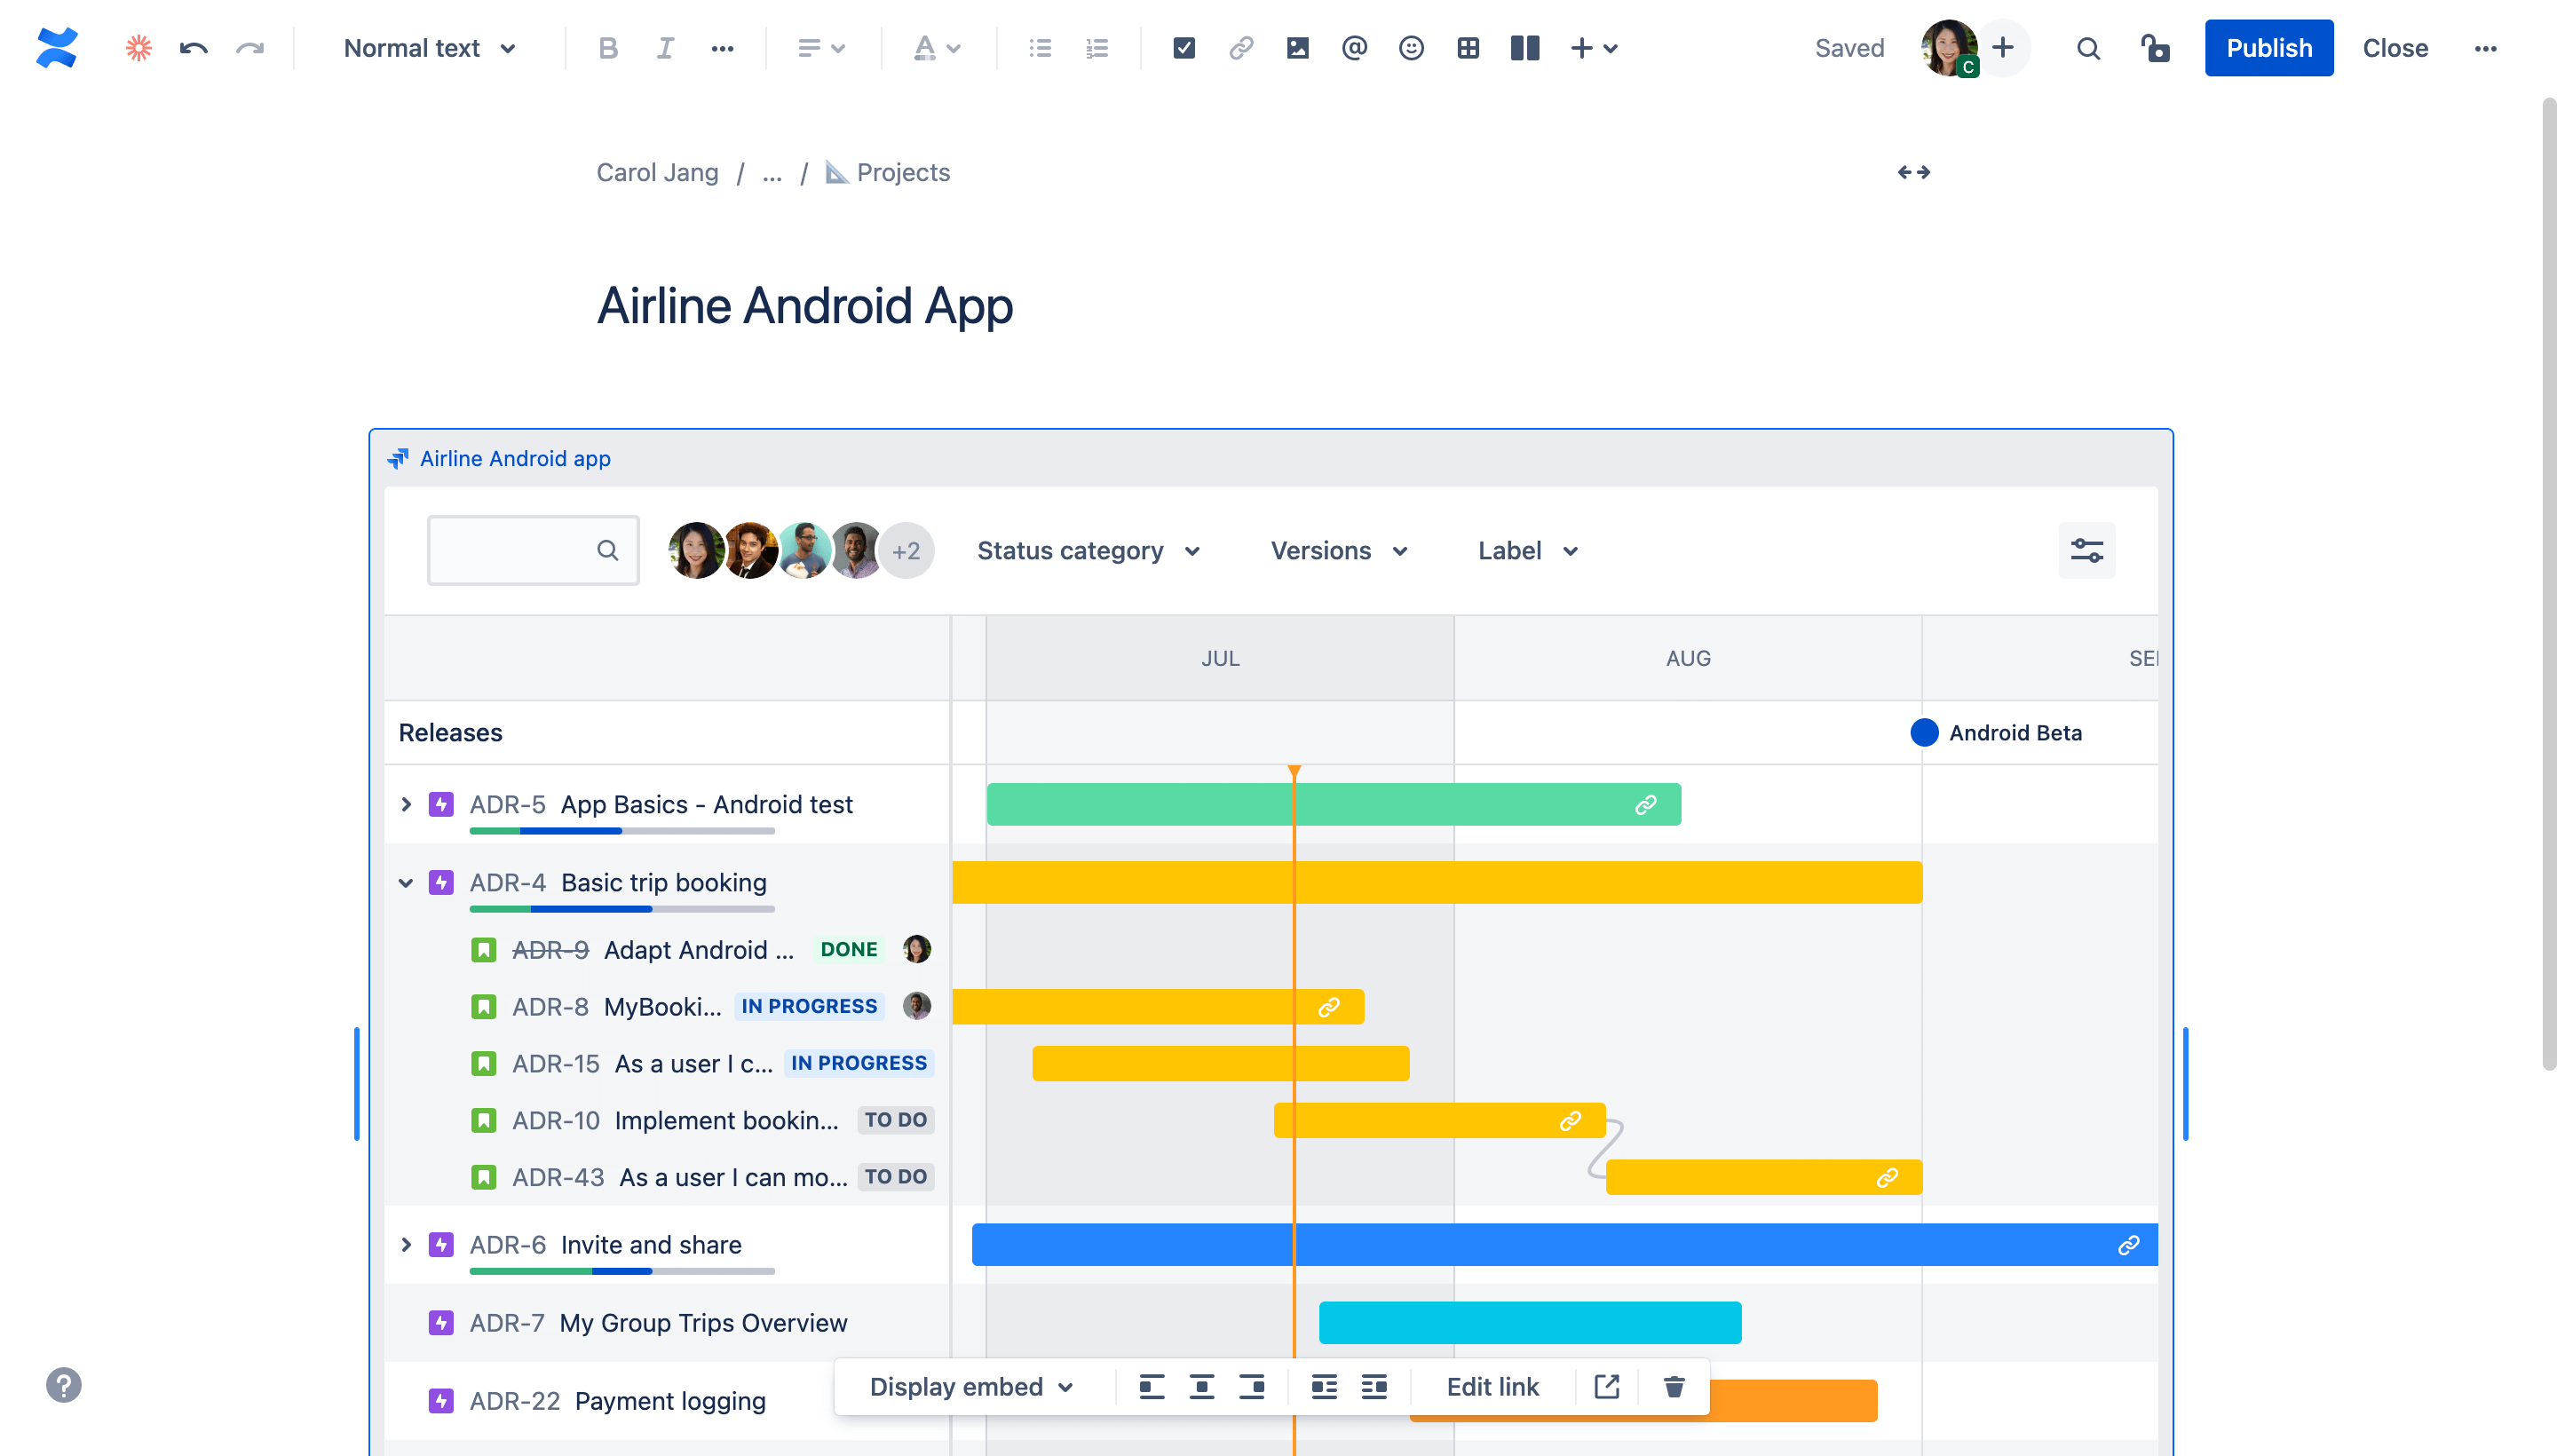
Share and export features allow you to easily share your project timeline with stakeholders, add it to a presentation, attach it to project documentation, print it out, or add it to a Confluence Cloud page.
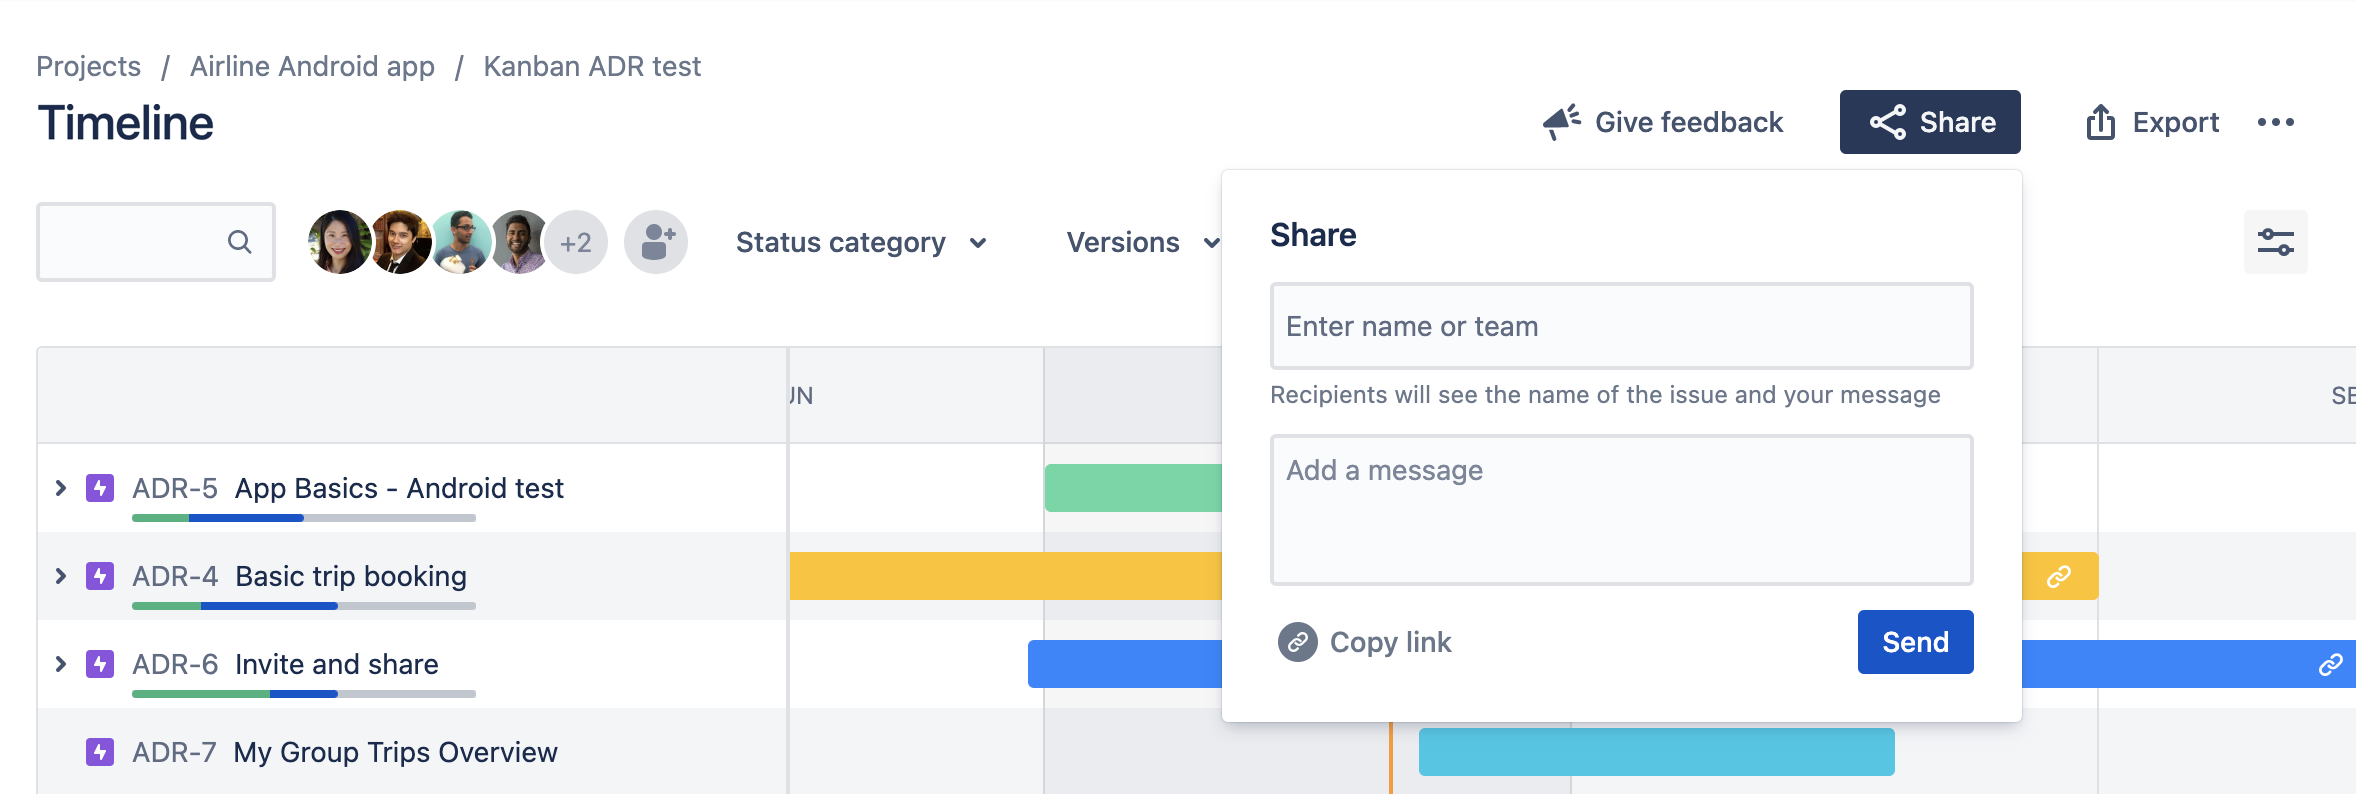
To share your timeline directly from Jira, type in usernames or emails or click “Copy link” to grab the timeline URL.
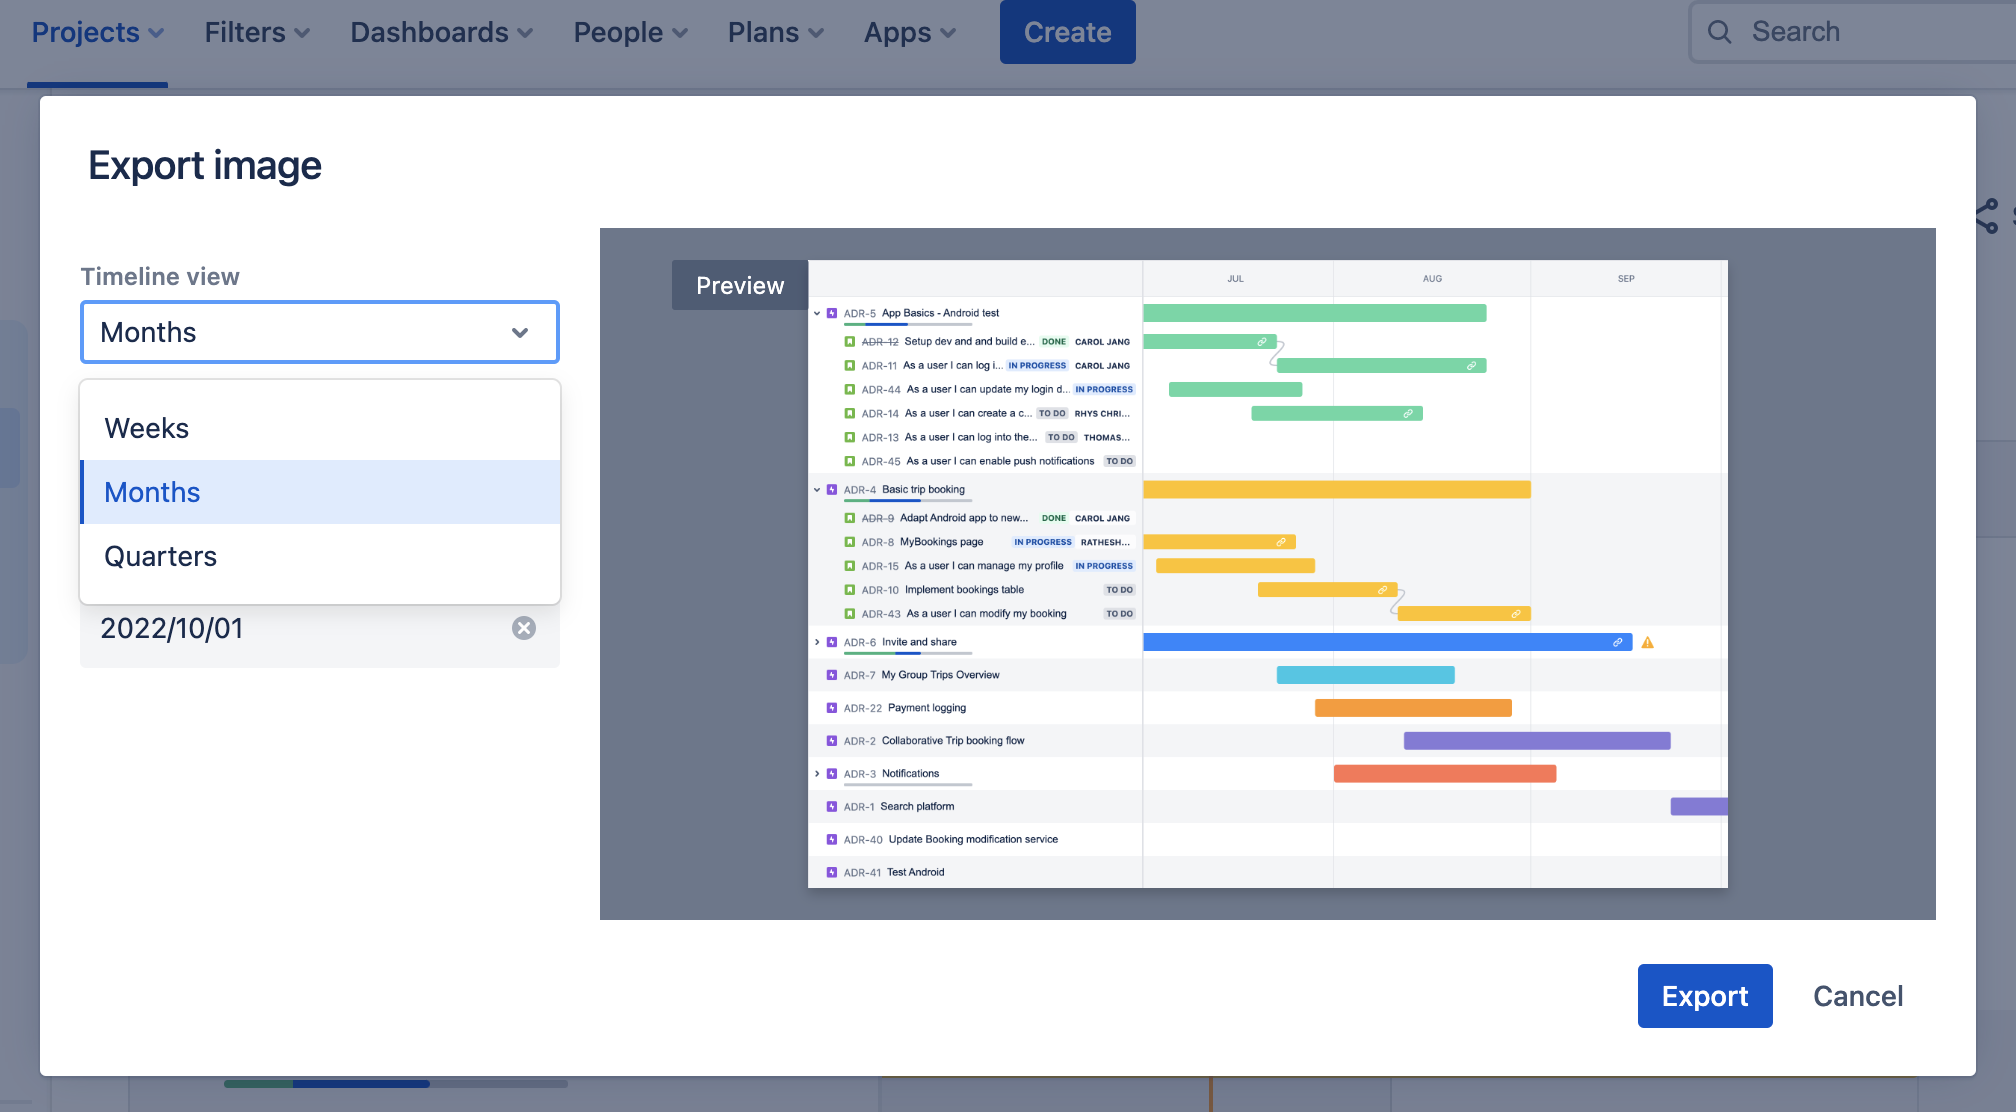
To export as an image, select the desired timeline view, start date, and end date of the work you’d like to capture.
Assign dependencies
Dependency management is critical for teams. When dependencies are visualized and well-mapped, a team can adapt and plan for alternative paths. In Jira, you can easily show the relationship between epics by mapping dependencies directly from the timeline.
To create a dependency directly on your timeline:
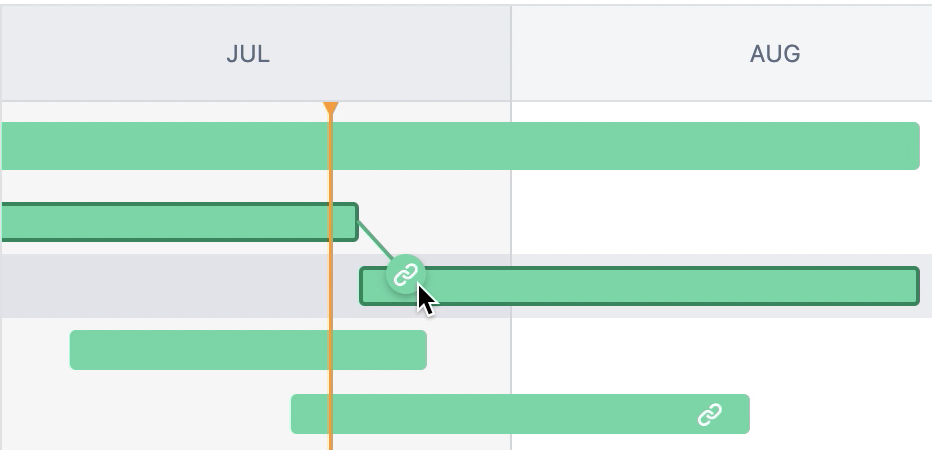
- Hover over the work item’s schedule bar to reveal dots on either side, as shown above.
- Drag one of the dots to the work item you want to link. The timeline automatically configures the order of the dependency (blocks or is blocked by) based on the order in which work items are scheduled.
To create a dependency from the side work item view panel:
- Highlight a work item on the timeline to open the side info panel.
- Select the icon to open the link menu, then choose Link work item.
- Select either blocks or is blocked by, then select the work item to link.